

October 5, 2026
What is a crypto payment gateway, and how does a business start taking payments through one?
Read article

You don't need a special PHP library or a downloaded script to take crypto on your site: a hosted crypto payment gateway is an ordinary HTTPS API, and your server talks to it with the HTTP client it already has. The one part that takes care is the HMAC-SHA256 signature, which fails if PHP or Python writes the JSON one character differently from the string that was signed. Below is working code for plain PHP, Laravel and Python, built on CryptumPay's API.
Search for a crypto payment gateway in PHP and you get two different things under one name:
This article takes the second route, because it fits into an existing shop or SaaS without running blockchain infrastructure. If you are still choosing a gateway, it pays to know what to check in a crypto payment API before you integrate it.
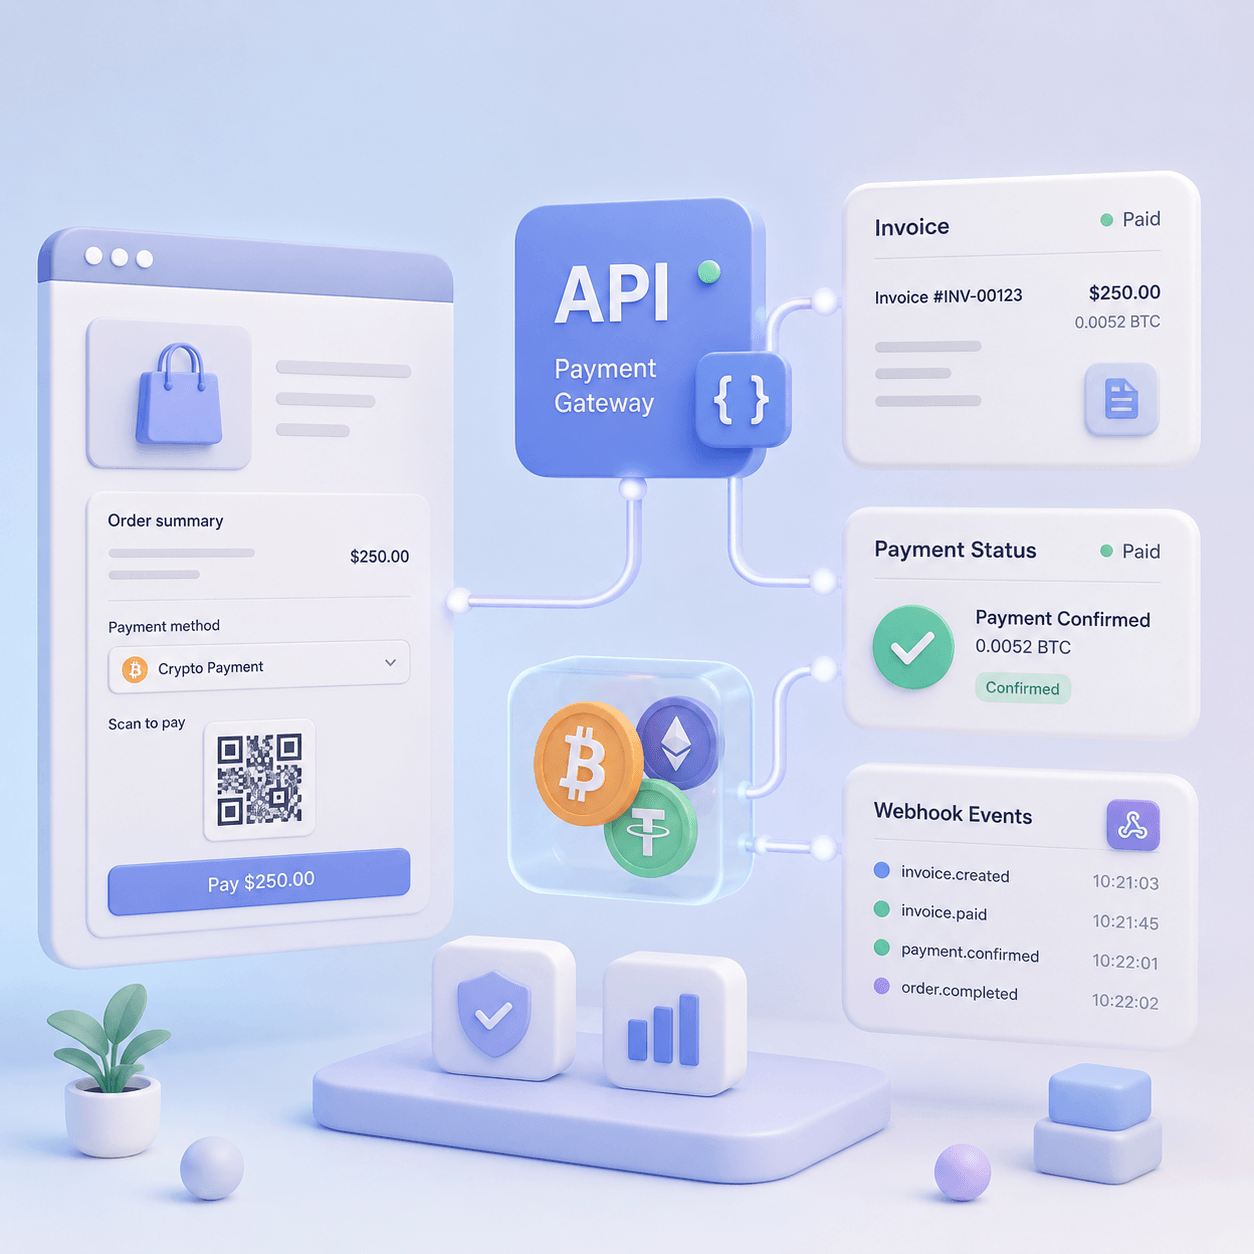
With a hosted gateway, one payment passes through four steps:
In CryptumPay's API the first step is POST /v1/orders and the fourth is GET /v1/orders/{orderId}. The webhook comes to the HTTPS address you set in the console.
The redirect to the payment link is the shortest route, and it is what the code below does. If you'd rather keep the buyer on your own page, the order id from the first step can go to CryptumPay's HTML payment widget instead of a redirect.
Three things are set up in CryptumPay's console before any code runs:
CryptumPay's ready-made SDK is for Node.js. Its signing algorithm, though, is described step by step without tying it to a language, so a PHP or Python server calls the REST API directly.
What the connection costs and when you can start:
The account, the project and all three settings above live in the CryptumPay console, where you get your API keys and set the webhook address.
Every request to CryptumPay's API carries four headers:
The signature is an HMAC-SHA256: a fingerprint of the request computed with your secret. Without the secret nobody can produce it, and changing one character of the request changes the whole fingerprint.
Here is how the signature is built:
The server repeats the same calculation on what it received. So the string you hash and the string you send must be identical, byte for byte.
By default PHP and Python write JSON differently from JavaScript's JSON.stringify, which CryptumPay's own SDK uses. Take an order with the description "Café / Paris":
Each version hashes differently, and a mismatch between what you signed and what arrived comes back as error 7005, "Invalid signature".
The fix comes in two parts:
The same steps, without any language attached, are in CryptumPay's developer documentation, together with the full list of order fields.
A webhook signature is simpler than a request signature, but it has a trap of its own: it is computed over the raw bytes of the request. If your framework parses the JSON and you encode it again, the string can come out different, and a genuine webhook fails the check.
The check takes four steps:
Once the signature is good, three CryptumPay rules shape the rest of the handler:
Status events do not carry your own order number. That is why the code saves the pair "your order, CryptumPay order id" when the order is created, and later finds your order by merchantOrderId.
When to ship follows CryptumPay's documentation: the order's financeSummary.status from GET /v1/orders/{orderId} must be 3 (paid and credited) or 4 (being credited), and never 0 (in progress) or 1 (under review). So the handlers below treat the webhook only as a trigger and ask the API before processing a crypto payment confirmation safely.
The first file is a small client that signs a request and sends exactly the signed string. It needs PHP 7.3 or newer with the cURL extension.
<?php
// cryptumpay.php

const CPAY_API = 'https://papi.cryptumpay.com';

function cpay_request(string $method, string $path, array $params = []): array
{
    $apiKey = getenv('CRYPTUMPAY_API_KEY');
    $secret = getenv('CRYPTUMPAY_API_SECRET');

    $method = strtoupper($method);
    $path = '/' . trim($path, '/');   // no trailing slash

    // POST: compact JSON, slashes and non-ASCII unescaped. GET: {}
    $body = $method === 'GET'
        ? '{}'
        : json_encode($params, JSON_UNESCAPED_SLASHES | JSON_UNESCAPED_UNICODE | JSON_THROW_ON_ERROR);

    $timestamp = (string) (int) (microtime(true) * 1000);   // milliseconds
    $bodyHash  = hash('sha256', $body);
    $prehash   = implode('|', [$bodyHash, $method, $path, $timestamp, $apiKey]);
    $signature = hash_hmac('sha256', $prehash, $secret);

    $ch = curl_init(CPAY_API . $path);
    curl_setopt_array($ch, [
        CURLOPT_CUSTOMREQUEST  => $method,
        CURLOPT_RETURNTRANSFER => true,
        CURLOPT_HTTPHEADER     => [
            'Content-Type: application/json',
            'x-api-key: ' . $apiKey,
            'x-signature: ' . $signature,
            'x-timestamp: ' . $timestamp,
        ],
    ]);
    curl_setopt($ch, CURLOPT_POSTFIELDS, $body);   // the signed string, GET included

    $response = curl_exec($ch);
    if ($response === false) {
        throw new RuntimeException(curl_error($ch));
    }

    return json_decode($response, true);
}
Creating the order takes four required fields, plus one optional field that is worth sending every time:
<?php
// checkout.php
require 'cryptumpay.php';

$shopOrderId = '1042';   // your own order number

$reply = cpay_request('POST', '/v1/orders', [
    'title'              => 'Order #1042',
    'description'        => 'Annual plan, 1 seat',
    'fiatAmount'         => '49.00',
    'fiatCurrency'       => 'usd',
    'projectDataOrderId' => $shopOrderId,
]);

if ($reply['errorObject'] !== null) {
    throw new RuntimeException('CryptumPay error ' . $reply['errorObject']['appCode']);
}

$cpayOrderId = $reply['data']['id'];
save_order_link($shopOrderId, $cpayOrderId);   // your function: save the pair now

header('Location: https://pay.cryptumpay.com/m/' . $cpayOrderId);
The webhook file sits at the HTTPS address you entered in the console. Plain PHP gives the raw body through php://input, and the headers arrive as HTTP_X_SIGNATURE and HTTP_X_IDMP_KEY in $_SERVER.
<?php
// webhook.php
require 'cryptumpay.php';

$raw = file_get_contents('php://input');   // raw bytes, before json_decode

$apiKey   = getenv('CRYPTUMPAY_API_KEY');
$secret   = getenv('CRYPTUMPAY_API_SECRET');
$expected = hash_hmac('sha256', hash('sha256', $raw) . '|' . $apiKey, $secret);

if (!hash_equals($expected, $_SERVER['HTTP_X_SIGNATURE'] ?? '')) {
    http_response_code(401);
    exit;
}

$eventId = $_SERVER['HTTP_X_IDMP_KEY'] ?? '';
if (event_already_handled($eventId)) {   // your function
    http_response_code(200);
    exit;
}

$event = json_decode($raw, true);

if (($event['type'] ?? '') === 'customerOrder'
    && in_array($event['status'] ?? '', ['crediting', 'finished'], true)) {
    $order  = cpay_request('GET', '/v1/orders/' . $event['merchantOrderId']);
    $status = $order['data']['financeSummary']['status'] ?? null;

    if (in_array($status, [3, 4])) {
        mark_paid_by_cpay_id($event['merchantOrderId']);   // may run twice
    }
}

remember_event($eventId);
http_response_code(200);In Laravel the same logic fits into one service class. Add a cryptumpay entry to config/services.php with key and secret read from the two environment variables, so the code reads them through config().
The class signs the string itself and passes it with withBody(), so Laravel's HTTP client sends it untouched. Handing post() an array would make the client encode the JSON again with its own settings.
<?php
// app/Services/CryptumPay.php

namespace App\Services;

use Illuminate\Support\Facades\Http;

class CryptumPay
{
    private const BASE = 'https://papi.cryptumpay.com';

    public function request(string $method, string $path, array $params = []): array
    {
        $key    = config('services.cryptumpay.key');
        $secret = config('services.cryptumpay.secret');

        $method = strtoupper($method);
        $path   = '/' . trim($path, '/');
        $body   = $method === 'GET'
            ? '{}'
            : json_encode($params, JSON_UNESCAPED_SLASHES | JSON_UNESCAPED_UNICODE | JSON_THROW_ON_ERROR);

        $timestamp = (string) now()->getTimestampMs();
        $prehash   = implode('|', [hash('sha256', $body), $method, $path, $timestamp, $key]);

        $http = Http::withHeaders([
            'x-api-key'   => $key,
            'x-signature' => hash_hmac('sha256', $prehash, $secret),
            'x-timestamp' => $timestamp,
        ]);   // Content-Type: application/json is the default

        // the signed string goes as the body for GET too
        $response = $http->withBody($body, 'application/json')->send($method, self::BASE . $path);

        return $response->json();
    }

    public function verifyWebhook(string $rawBody, string $signature): bool
    {
        $prehash  = hash('sha256', $rawBody) . '|' . config('services.cryptumpay.key');
        $expected = hash_hmac('sha256', $prehash, config('services.cryptumpay.secret'));

        return hash_equals($expected, $signature);
    }
}
Checkout calls the service's request() with POST, /v1/orders and the same fields as the plain PHP example, stores data.id in a cpay_order_id column on your Order model and sends the buyer to the payment link with redirect()->away(). The webhook controller below finds the order by that column.
Two Laravel defaults would stop the webhook at the door, so the route needs two precautions:
// routes/api.php: the address becomes /api/cryptumpay/webhook
use App\Http\Controllers\CryptumPayWebhookController;

Route::post('/cryptumpay/webhook', CryptumPayWebhookController::class);
In the controller, $request->getContent() returns the raw body. $request->all() would hand you already-parsed data, which is no good for the signature.
<?php
// app/Http/Controllers/CryptumPayWebhookController.php

namespace App\Http\Controllers;

use App\Models\Order;
use App\Services\CryptumPay;
use Illuminate\Http\Request;
use Illuminate\Support\Facades\Cache;

class CryptumPayWebhookController
{
    public function __invoke(Request $request, CryptumPay $cpay)
    {
        $raw = $request->getContent();

        if (! $cpay->verifyWebhook($raw, (string) $request->header('X-Signature'))) {
            abort(401);
        }

        $eventKey = 'cpay-event:' . $request->header('X-IDMP-Key');
        if (Cache::has($eventKey)) {
            return response()->noContent();   // 204, a handled retry
        }

        $event = json_decode($raw, true);

        if (($event['type'] ?? null) === 'customerOrder'
            && in_array($event['status'] ?? null, ['crediting', 'finished'], true)) {
            $order  = $cpay->request('GET', '/v1/orders/' . $event['merchantOrderId']);
            $status = $order['data']['financeSummary']['status'] ?? null;

            if (in_array($status, [3, 4])) {
                Order::where('cpay_order_id', $event['merchantOrderId'])->update(['paid' => true]);
            }
        }

        Cache::put($eventKey, true, now()->addDay());

        return response()->noContent();
    }
}
The cache keeps handled event ids for a day, which covers CryptumPay's hour of retries. On a busy shop, a database table with a unique column for X-IDMP-Key is the sturdier choice.
The Python client mirrors the PHP one. It uses the requests library and passes the signed bytes through data=, never through json=.
# cryptumpay.py
import hashlib
import hmac
import json
import os
import time

import requests

API = "https://papi.cryptumpay.com"
API_KEY = os.environ["CRYPTUMPAY_API_KEY"]
API_SECRET = os.environ["CRYPTUMPAY_API_SECRET"]


def cpay_request(method, path, params=None):
    method = method.upper()
    path = "/" + path.strip("/")  # no trailing slash

    if method == "GET":
        body = "{}"
    else:
        # compact like JSON.stringify: no spaces, non-ASCII unescaped
        body = json.dumps(params, separators=(",", ":"), ensure_ascii=False)
    body_bytes = body.encode("utf-8")

    timestamp = str(int(time.time() * 1000))  # milliseconds
    body_hash = hashlib.sha256(body_bytes).hexdigest()
    prehash = "|".join([body_hash, method, path, timestamp, API_KEY])
    signature = hmac.new(API_SECRET.encode(), prehash.encode(), hashlib.sha256).hexdigest()

    response = requests.request(
        method,
        API + path,
        headers={
            "Content-Type": "application/json",
            "x-api-key": API_KEY,
            "x-signature": signature,
            "x-timestamp": timestamp,
        },
        data=body_bytes,  # the signed bytes, GET included
        timeout=15,
    )
    return response.json()
In Flask, request.get_data() returns the raw bytes, and request.get_json() still works afterwards.
# app.py
import hashlib
import hmac

from flask import Flask, abort, redirect, request

from cryptumpay import API_KEY, API_SECRET, cpay_request

app = Flask(__name__)


@app.post("/checkout/<order_id>")
def checkout(order_id):
    reply = cpay_request("POST", "/v1/orders", {
        "title": f"Order #{order_id}",
        "description": "Annual plan, 1 seat",
        "fiatAmount": "49.00",
        "fiatCurrency": "usd",
        "projectDataOrderId": order_id,
    })
    if reply["errorObject"] is not None:
        abort(502)

    cpay_id = reply["data"]["id"]
    save_order_link(order_id, cpay_id)  # your function
    return redirect(f"https://pay.cryptumpay.com/m/{cpay_id}")


@app.post("/cryptumpay/webhook")
def cryptumpay_webhook():
    raw = request.get_data()
    body_hash = hashlib.sha256(raw).hexdigest()
    expected = hmac.new(
        API_SECRET.encode(), f"{body_hash}|{API_KEY}".encode(), hashlib.sha256
    ).hexdigest()
    if not hmac.compare_digest(expected, request.headers.get("X-Signature", "")):
        abort(401)

    event_id = request.headers.get("X-IDMP-Key", "")
    if event_already_handled(event_id):  # your function
        return "", 200

    event = request.get_json()
    if event.get("type") == "customerOrder" and event.get("status") in ("crediting", "finished"):
        order = cpay_request("GET", f"/v1/orders/{event['merchantOrderId']}")
        summary = (order.get("data") or {}).get("financeSummary") or {}
        if summary.get("status") in (3, 4):
            mark_paid_by_cpay_id(event["merchantOrderId"])  # may run twice

    remember_event(event_id)
    return "", 200
Nothing in cryptumpay.py depends on Flask, so the same module serves any Python code that sells something. A bot, for example, can create the order and send the buyer the payment link right in the chat, which is the whole idea behind connecting a crypto payment gateway to a Telegram bot.
On an error, CryptumPay's reply has data set to null, and errorObject carries httpCode, appCode and message. These are the codes that point at signing and access:
Four checks are worth running before the payment button goes live for everyone:
The whole integration rests on two habits, one for each direction:
That covers taking the money. Once payments arrive every day, the next job is bookkeeping, and the saved pair of ids is what lets you reconcile crypto payments with your orders and your books.
For CryptumPay you don't need one: the client above is the whole integration, a few short functions you can read line by line. If you do pick up a script or a repository, first find out what it is: a self-hosted gateway that runs on your server and watches the blockchain, or a client for one particular gateway's API. Then check when it was last updated, because a payment script nobody maintains is a risk to your money, not a shortcut.
In CryptumPay's API you price the order in fiat with fiatAmount and fiatCurrency, and the coin the buyer actually paid with arrives in the status webhook as cryptoCurrency, together with cryptoAmount. So your PHP code does not change from one coin to another. Which coins and networks are on offer is set by the gateway, not by your code, so check its list before promising Bitcoin on your checkout page.
Yes. The one thing the framework must give you is the raw body before parsing: request.body in Django, await request.body() in FastAPI. The hashing and comparison lines stay exactly as they are. In Django, also mark the view with csrf_exempt, otherwise its CSRF check will reject CryptumPay's POST.
Create an account and connect the checkout yourself, or talk to sales and we will plan the integration with you.